How to make roman blinds with your own hands? (11 photos)
Roman shades were and remain one of the most popular models of fabric light filters. Depending on the type and color of the material, curtains of this type can be presented both in a laconic design and in a romantic or rustic style. They will organically fit into any interior, and this is what explains such a diverse range of finished products. However, if you want your home to become truly unique and cozy, you need to fill it with exclusive details. We will tell you how to make roman blinds with your own hands, especially since this process is not too expensive and does not require special material investments from you.
DIY Roman blinds: step-by-step instructions will help even the most novice needlewomen to cope with sewing. We will give advice on the choice of fabric, list the list of necessary accessories, and reveal some of the secrets of cutting and sewing such products. And then we will tell you step by step how to sew fabric blinds yourself, so that they turn out no worse than in the atelier.
So, if you are interested in how to make do-it-yourself roman blinds, read our recommendations!
Roman-style fabric blinds look great in the design of window groups, balcony profiles or glazed loggias. Depending on your preference, you can create a structure that covers only the transparent part of the window, clinging directly to the sash or frame. Or choose a more overall curtain that covers not only the entire window group, but also part of the wall around it. This model is mounted on a wall or ceiling. You can easily.
The method of installing the curtain is the initial question, the answer to which depends on what size you are.
Roman blinds inside the window opening
Roman blinds over the window opening
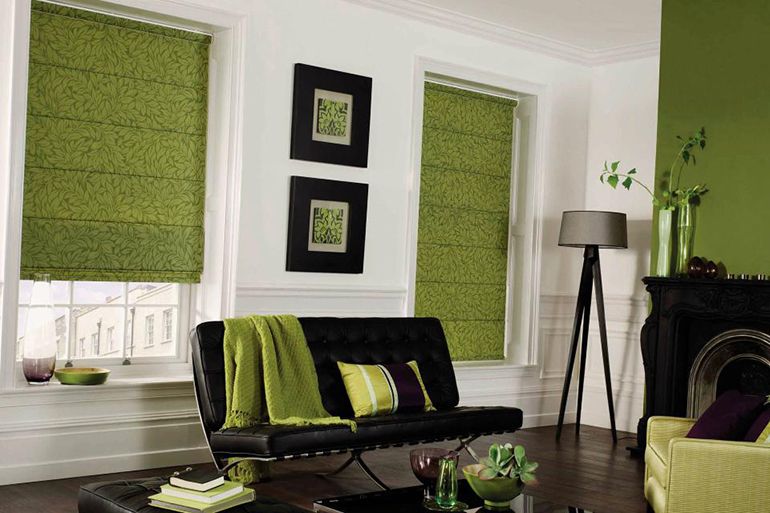
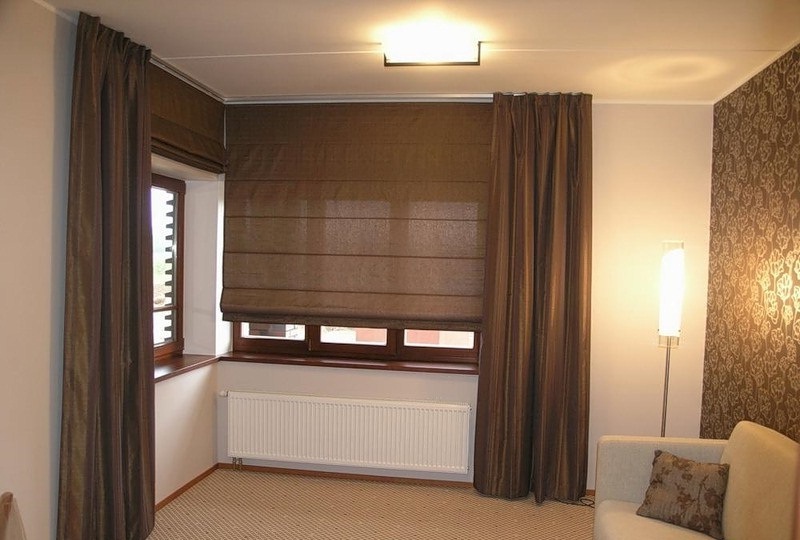
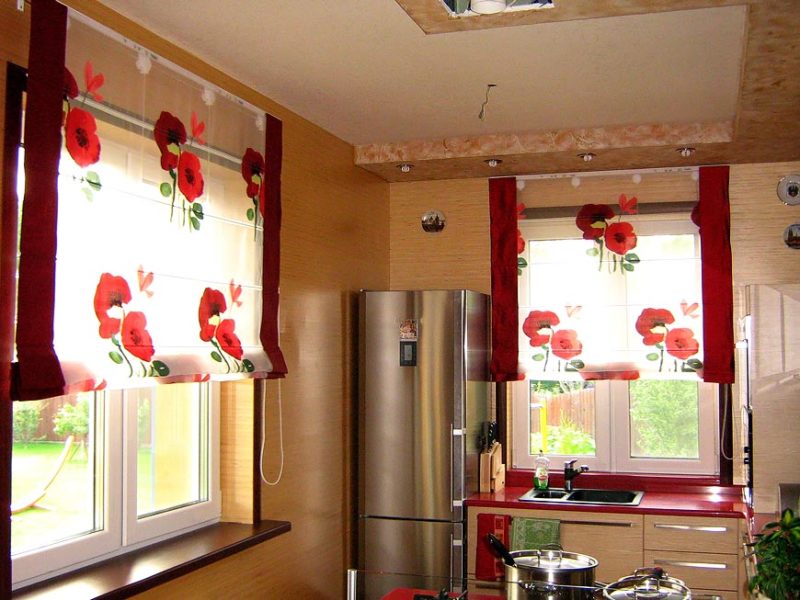
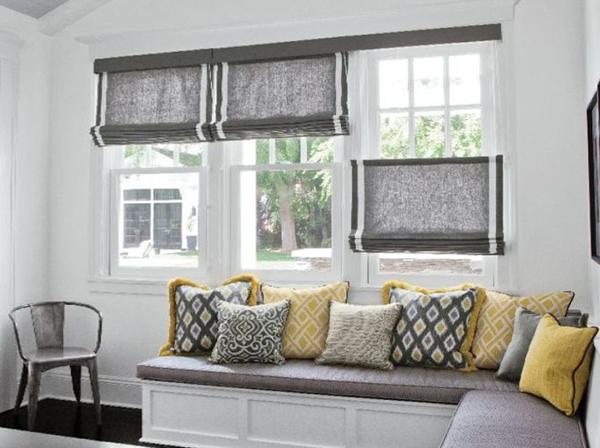
Roman blinds in the interior
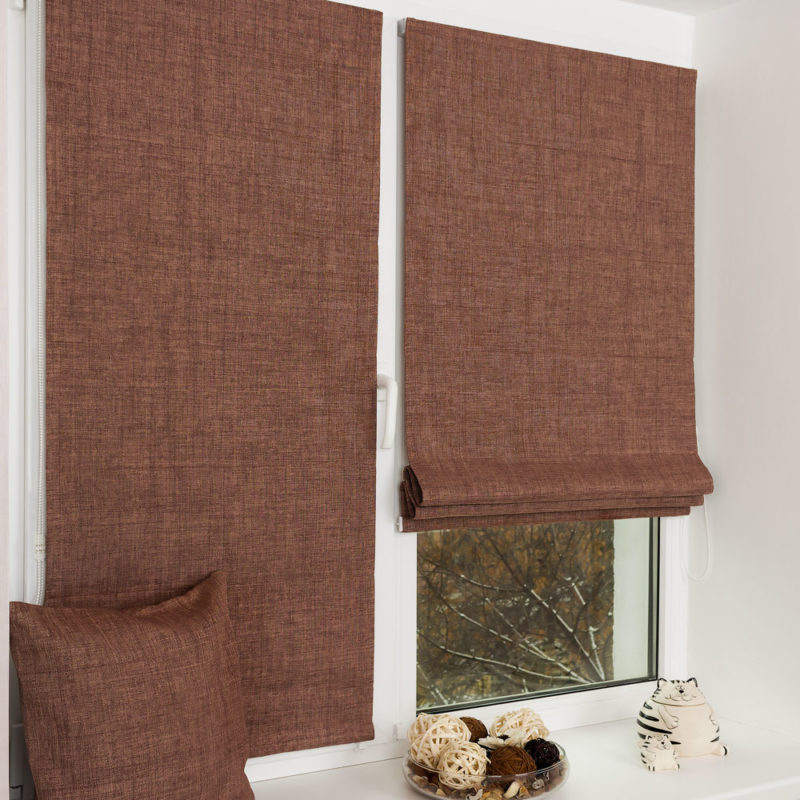
Fine synthetic fabric Roman shades
The next step is to choose the right material. Each type of fabric, depending on the density, relief and percentage of naturalness, is suitable for sewing Roman blinds with your own hands. To help you make your choice, we will reveal a few secrets of how best to decorate a window depending on the texture of the canvas.
Material selection
For the manufacture of Roman curtains with your own hands, it is allowed to use fabrics of any texture. It all depends on the intended functionality and the degree of darkness that you would like to create in the room with their help.
Black out curtains
This is a kind of modern materials with the highest degree of light protection. Fabrics of this category are treated with a special impregnation that allows you to completely block the penetration of sunlight, and also prevent heating of the air in the room and prevent furniture from burning out.
Roman blinds blackout
Curtains made of natural materials
Blinds made of natural fabrics (linen or cotton) have an average light transmission, so they are more appropriate to use in living rooms or dining rooms. Linen and cotton curtains are non-electrifying, highly durable and look very elegant. However, when choosing natural materials, you need to make allowances for the fact that the fabric may shrink after the first wash. When measuring, this moment must be taken into account.
Roman blinds made of natural materials (linen)
Synthetic fabrics for roman blinds
Curtains made of synthetics or with a high percentage of artificial thread are very convenient both in sewing and in use. They hardly wrinkle, do not shrink and wash well. And if in production they were treated with dirt and moisture-proof liquids, such canvases hardly get dirty and do not accumulate dust. Synthetic products are ideal for kitchens, balconies or loggia windows. The variety of colors and additional accessories allows you to design a window in any style. The main thing is that the direction of the design coincides with the interior decoration of the room.
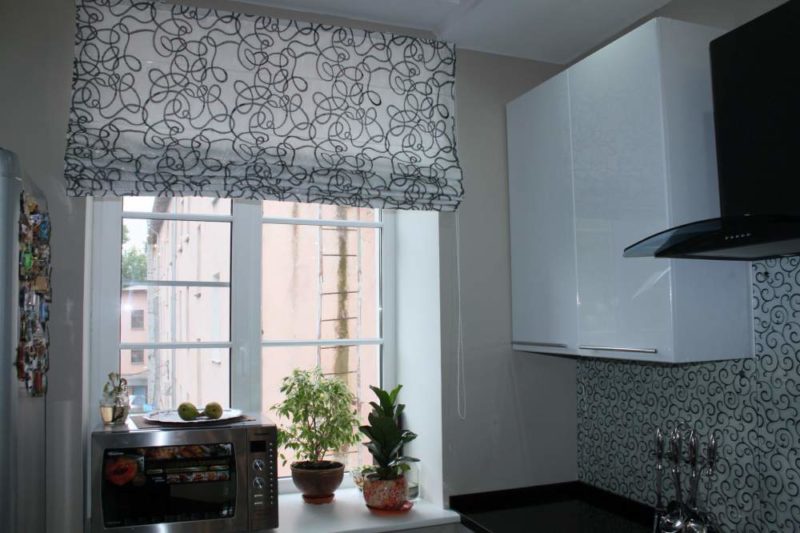
Synthetic Roman shades
Roman shades made of mixed fabrics
Mixed fabrics, in the production of which yarns and fibers of different composition, both natural and artificial, are used, are perhaps the best option for sewing home textiles. They have excellent performance properties, are resistant to damage, tearing and tightening. Often such materials have a bright color that does not lose its intensity for a long time, and a large selection of the degree of density will allow you to choose a canvas specifically for your needs.
So, we figured out the choice of fabric. Now it remains to decide what tools and materials we need in order to sew a Roman blind with our own hands.
Required tools
To sew roman blinds on windows yourself, you must have in stock:
- a piece of canvas from which you will make a curtain. If your goal is thicker curtains with good light protection, get a lining fabric as well;
- a wooden plank, the length of which should be equal to the estimated width of the product, the width should be 5 cm, and the thickness should be about 2.5 cm;
- thin wooden or metal strips that will be sewn into the fabric horizontally. Their length should be a couple of centimeters less than the width of the canvas, and the number depends on how many folds you want to make on a classic Roman blind;
- weighting agent - a wooden block or metal plate with a length equal to the width of the curtain;
- synthetic lace (best nylon). Its size should be at least 5 times the length of the curtain;
- furniture stapler;
- a roll of Velcro tape;
- a skein of a finishing border, about 2 - 3 cm wide;
- plastic or metal rings;
- cord clamp (clip or hook);
- needle, thread, scissors;
- sewing machine.
DIY Roman blinds step by step instructions
Having prepared all the necessary elements, you can get to work.
Step 1. Measurement and pattern of fabric
If you chose the option of a curtain located inside the opening, then the window measurement scheme looks like this:
- L (length) of the curtain = the distance from the upper slope of the window to the window sill plus 7 - 10 cm for the fold (bottom and top);
- B (width) of the curtain = the width of the window opening plus the seam allowances (5 - 7 cm) and minus 2 - 3 cm, necessary so that the finished curtain does not cling to the side panels.
When decorating a window by mounting curtains on a wall or ceiling, that is, outside the opening, adhere to the following values:
- L (length) of the curtain = the distance from the intended place of attachment of the eaves to the window sill plus hem allowances (about 10 cm). Usually, when placed on a wall, the suspension is attached at a distance of about 10-15 cm from the upper slope of the window group;
- B (width) of curtain = desired width of the finished product, plus 6 cm for the side seams. Most often, with the option of mounting from the outside, the Roman blind is made about 5 - 10 cm wider than the window opening.
After taking all measurements and adding centimeters to the seams, be sure to wet the fabric in warm water, wring it out and iron it so that it does not shrink after the first wash. Spread the material on a horizontal surface, measure the required length and width, and cut.
Step 2. Calculate the folds
All the beauty of Roman classic curtains lies in the beautiful drapery that appears when the product is lifted. In order for your curtains to look neat and fold in even stripes, it is very important to correctly calculate the width of the folds, depending on the height of the window.
For convenience, we have compiled a table that will help you make a calculation.
| Window height (cm) | Number of folds | Interval between warehouses (cm) | Window height (cm) | Number of folds | Interval between warehouses (cm) | Window height (cm) | Number of folds | Interval between warehouses (cm) |
| 7 | 19,3 | 180 | 7 | 24,0 | 215 | 7 | 28,7 | |
| 7 | 20,0 | 185 | 7 | 24,7 | 220 | 7 | 29,3 | |
| 7 | 20,7 | 190 | 7 | 25,3 | 225 | 8 | 30,0 | |
| 7 | 21,3 | 195 | 7 | 26,0 | 230 | 8 | 27,0 | |
| 7 | 22,0 | 200 | 7 | 26,7 | 235 | 8 | 27,6 | |
| 7 | 22,7 | 205 | 7 | 27,3 | 240 | 8 | 28,2 | |
| 7 | 23,3 | 210 | 7 | 28,0 | 245 | 8 | 28,8 | |
| 250 | 8 | 29,4 |
Mark on the seamy side the places of future folds and fold lines.
Step 3. Fabric processing
- We turn the fabric on the sides by 3 cm from each edge, sew;
- We process the upper edge of the canvas with an overlock, make a fold of 5 cm, and sew a Velcro tape across the entire width;
- After that, we are engaged in the lower edge - we make the so-called "pocket" into which the weighting agent will be inserted;
- Make the same "pockets" with a trim, sewn on the wrong side of the material in those places where you marked the warehouses;
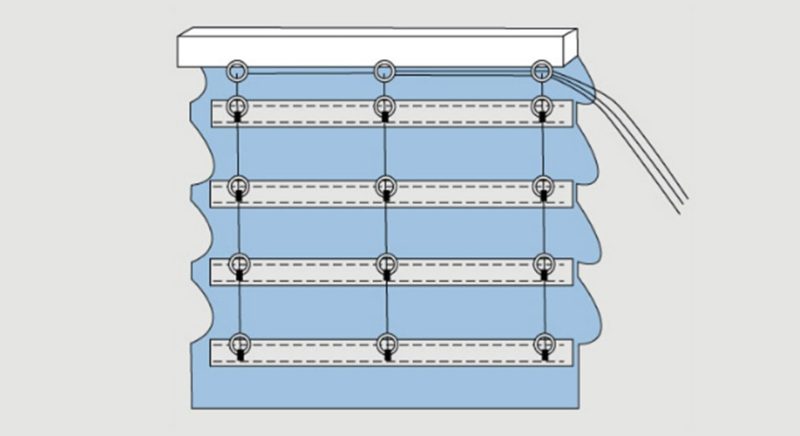
- We sew rings on the border through which the laces will be stretched to lift the canvas. Place the parts symmetrically, starting from the center of the fabric and stopping at a distance of 5 - 10 cm from the edge;
- Slide weight and frame battens along the curtain. Sew the holes on the sides.
Step 4. Attaching the curtain
- To the bar on which the curtain will be attached, using a furniture stapler, we nail the Velcro tape;
- On the reverse side of the timber, we nail the rings, the location of which must exactly coincide with the position of similar accessories on the fabric;
- With the help of a bar;
- Pass the laces through all rows of rings, fixing their ends at the bottom with the help of knots, and at the top bring them to one side and connect to each other;
- Pull the cord to assemble the shade. Check how nicely the warehouses are laid down, if necessary - align the rows.
Curtain from the seamy side
Step 5. Fixing to the window
- If you install the product inside the opening, use tape brackets or types that are attached directly to the frame or sash;
- For installation above the opening - attach metal corners at the required height, and already install a wooden bar with a curtain on them;
- Screw a hook (bracket) to the frame, which will serve to wind the lifting cord that fixes the curtain in the assembled position.
Dissolve and raise the curtain again to make sure that all the actions performed are correct. As a result, you should get an even and neat curtain that is gathered with a cord in beautiful warehouses.
Learning how to sew do-it-yourself Roman shades , you can decorate your home with original and unusual products that will give your home a unique charm and personality. If the style of your choice allows the use of decorative elements, decorate the curtain with metal fittings, ribbons or fringes along the bottom edge, or on the sides. Similar designs look very impressive, complete with other types of curtains - for example, with heavy curtains or Italian curtains, which are distinguished by an asymmetrical arrangement of grabs.
We hope that our master class on sewing Roman curtains will help even the most novice dressmaker to be proud of the results of their labor. After all, not a single thing will bring so much joy and satisfaction as one that is made by hand.