How to make a canopy with your own hands
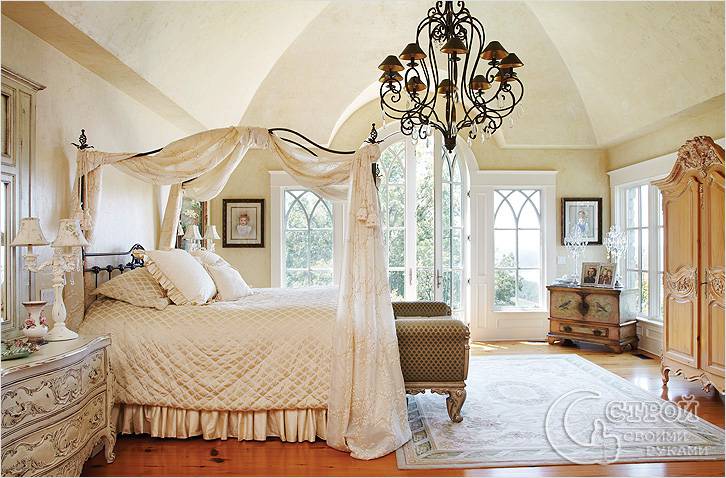
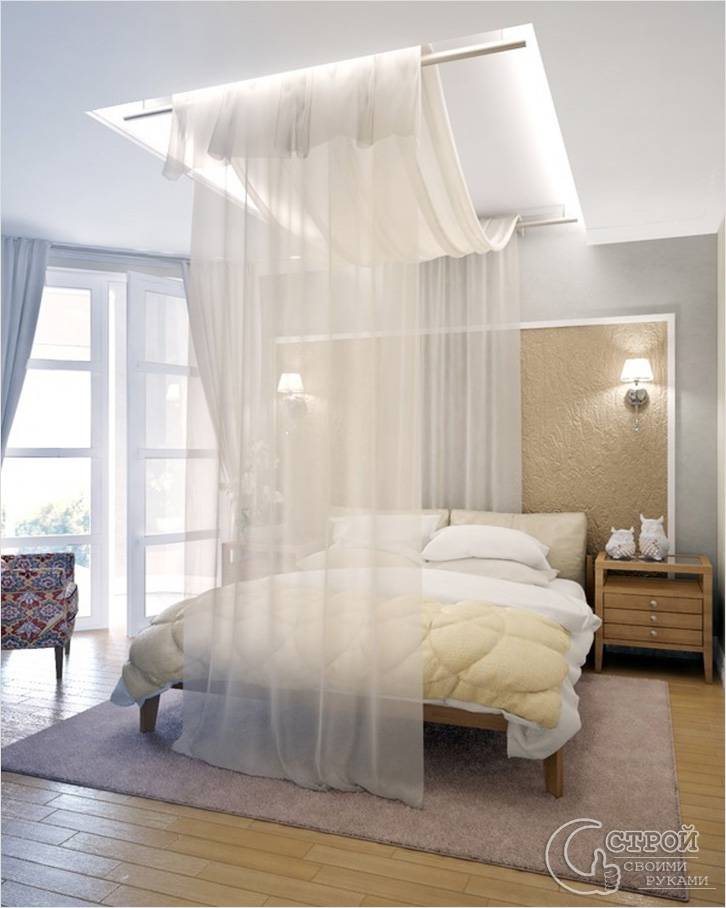
The comfort and coziness of a bedroom depends on the amount of effort and creativity. Modern designers offer many technologies for furnishing, but the canopy over the bed is considered the most original and interesting. With its help, you can give the interior airiness, weightlessness, and, if necessary, protect yourself from prying eyes. This is what every person needs after a hard day at work. If you have free funds, you can go to a textile store and buy a canopy. But it's much more pleasant to do it yourself. You can learn about all the intricacies of the process and how to make a canopy with your own hands by reading this article.
Advantages
As everyone knows, the canopy is an invention of our ancestors, which is very popular in modern interiors. In addition to decorative functions, such a design will perform several tasks:
- protection from morning sunlight;
- "Mosquito net" from insects;
- muting sounds;
- privacy;
- protection against drafts.
Of course, many consider the canopy to be an unnecessary thing, which is a dust collector. But this problem can be easily solved. Considering the ways of fastening the fabric, it is worth considering the ease of fixing and removing, in addition, when choosing textiles, give preference to options that can be machine washed.
Note! In a studio apartment, using a canopy, you can separate the recreation area, which will solve problems with zoning.
Some manufacturers equip beds with a special canopy mount. All that remains is to buy textiles and fix them. If you wish, you can make such a structure yourself.
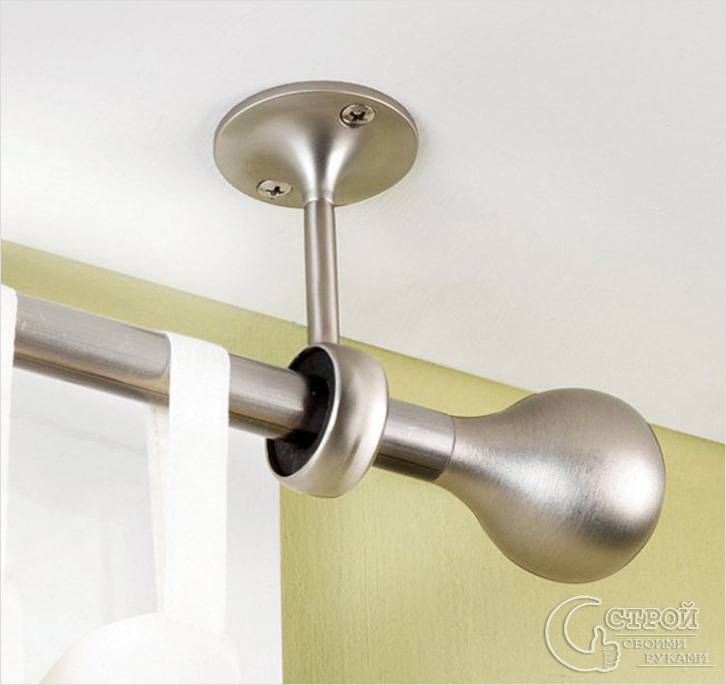
These can be structures through which the fabric is thrown. For example, horizontal pipes that are suspended from the ceiling using special fasteners. Tight ropes such as thin ropes can be used instead of rigid elements.
You can make a special niche on the ceiling, behind which the cornice will be hidden. The shape of the niche can be varied. External or external lighting will add originality.
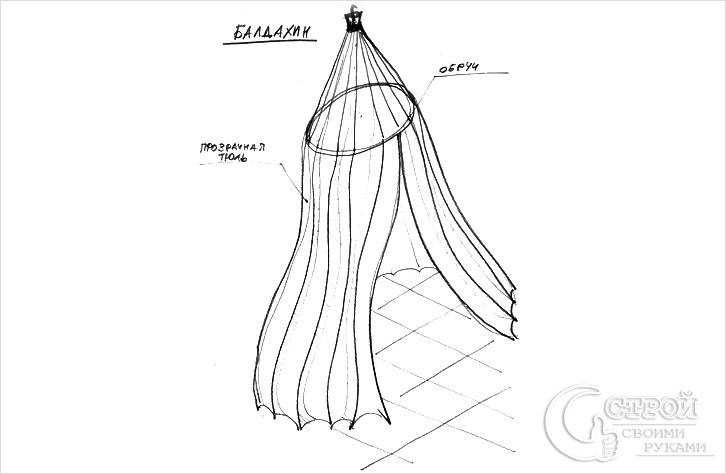
You can also attach one simple hook to the ceiling, onto which the canopy structure will be put on. In this case, you can use a regular aluminum hula-hoop or embroidery hoop on which the textiles are fixed.
You can also use simple towel holders that are fixed on the wall at the headboard. It looks more advantageous if the fabric falls in a free wave from the wall to the end of the bed.

In addition, to attach the canopy, you can use the frame from the base of the old bed. In this case, it is worth considering a reliable fastening that can withstand not only tulle, but also denser fabrics.
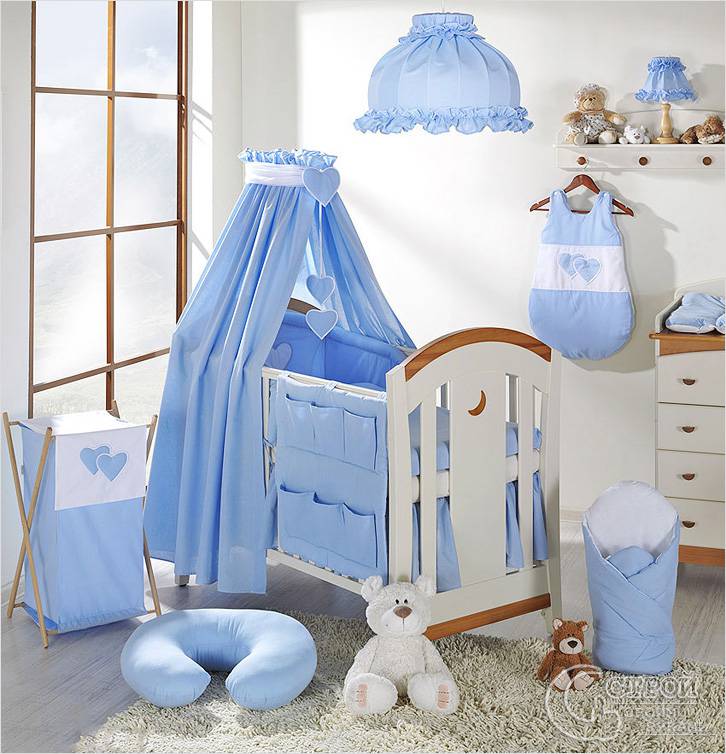
For a small bed, teenage or nursery, you can use an ordinary flower planter as a bracket.
Another design option for children's beds is a canopy-sail. One end of the triangular-shaped fabric is fixed to the ceiling above the bed, and the two lower corners to the legs of the legs.
For the simplest design of a canopy, a large piece of cloth is sufficient, as well as several long nails. They are hammered into the wall and ceiling, according to the idea. In some cases, it is possible to use wall sconces or chandeliers.
In addition to textiles, you can use garlands that are fixed to the ceiling around the perimeter of the bed.
Note! There are many options for decorating a canopy in a bedroom, and everyone can transform an idea and, as a result, get a new design.
Tools and materials
You shouldn't consider complex constructions. For the first time, it is enough to take something simple as a basis, we will consider one of such ideas. First, we buy all the necessary materials and select the tool:
- fabric of the required length (depending on the perimeter of the bed) and a width of about 2 m;
- curtain rod materials (wood or hollow tube);
- thread with a needle (sewing machine);
- screwdriver;
- fasteners (screws and dowels).
The whole process is divided into three stages:
- Sewing a canopy of the desired shape and size.
- Collecting and fixing the structure.
- Fixing the canopy to the cornice.
Note! To get beautiful waves of fabric on a canopy, it is recommended to take fabrics 2 times larger than the perimeter of the bed.
Manufacturing instruction
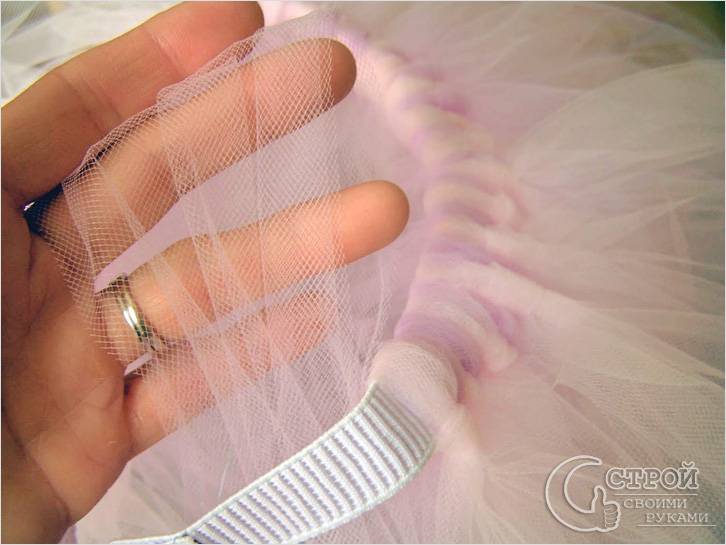
The stage of sewing a canopy does not require the special skills of a professional seamstress, so you can cope with this task yourself. Depending on the shape of the cornice and our own preferences, we prepare one or two canvases of the selected material. Next, we process the edges so that the fabric does not crumble, in one of the following ways:
- using an overlock;
- oblique inlay;
- manually with braid.
It is also necessary to sew either a drawstring or loops at the top. With their help, you can easily attach the fabric to the curtain rod.
Note! If it was decided to sew a drawstring, then for convenience it is necessary to form a diameter 2 times larger than the diameter of the tube.
Ready-made curtain rods are also sold in specialty stores, but it will not be so difficult to assemble it. Suitable as a basis:
- small diameter hollow tube;
- wooden slats.
The cornice is formed according to the planned pattern. To fix it to the ceiling, vertical supports are used. Experts advise, before fixing the cornice to the ceiling, string the smoothed fabric of the canopy onto it. This scheme is suitable for simple and uncomplicated shapes. All that remains is to unfold the canopy and enjoy the exclusive decor.
Note! For the convenience of removing and putting on the fabric on the structure, it is worth using rings.
So, from the above article, you can find out a lot of useful information regarding sewing and creating fasteners for a canopy over the bed. All that remains is to choose the right fabric that will fit perfectly into the bedroom interior and will not collect a lot of dust.
Video
This is how you can make a lightweight decorative bed canopy:
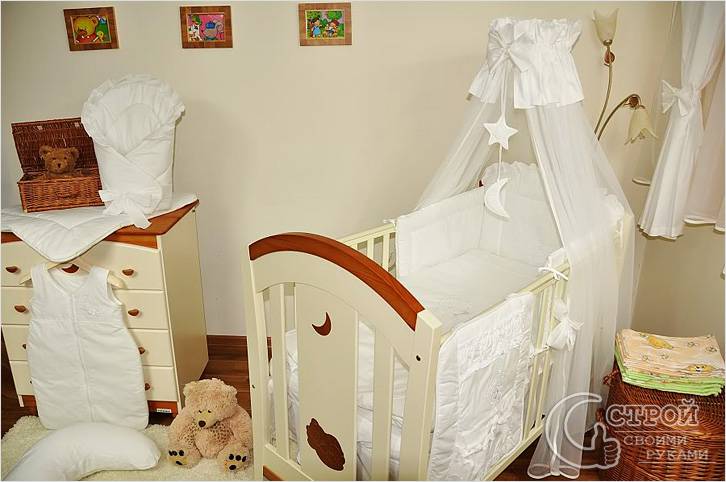
And such a canopy for a crib is easy to make from an unnecessary basket and a cut of light fabric:
Photo
 Mini canopy